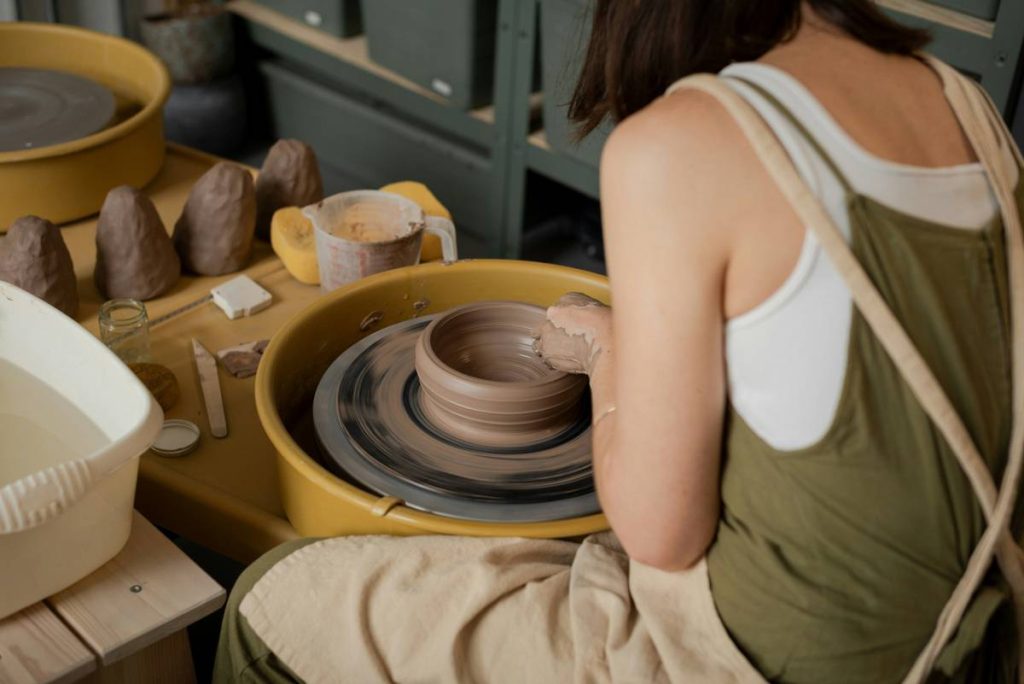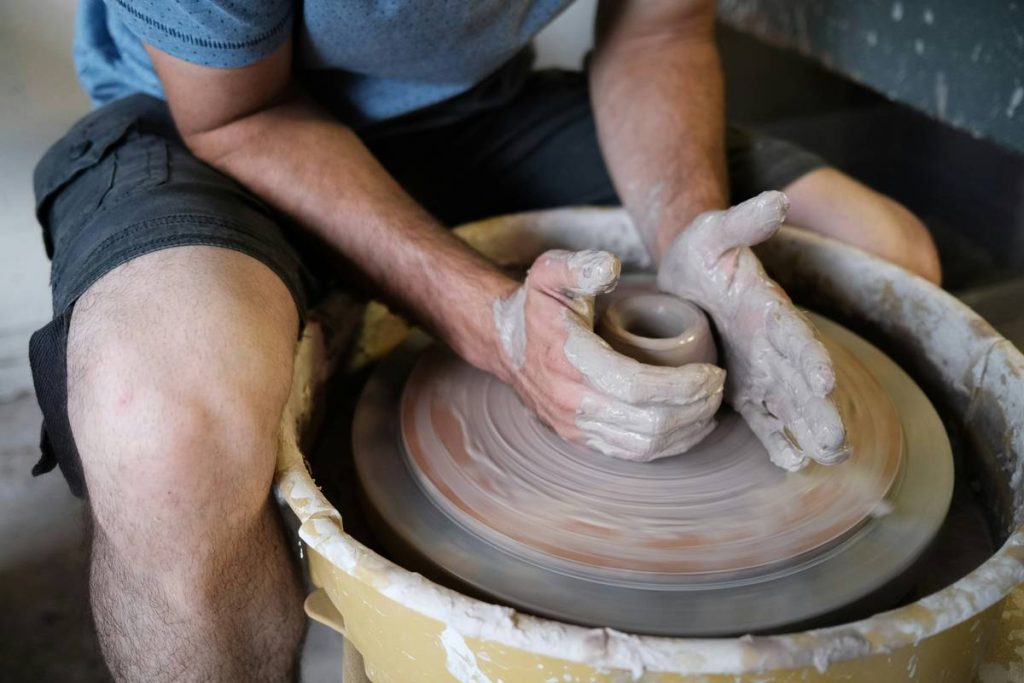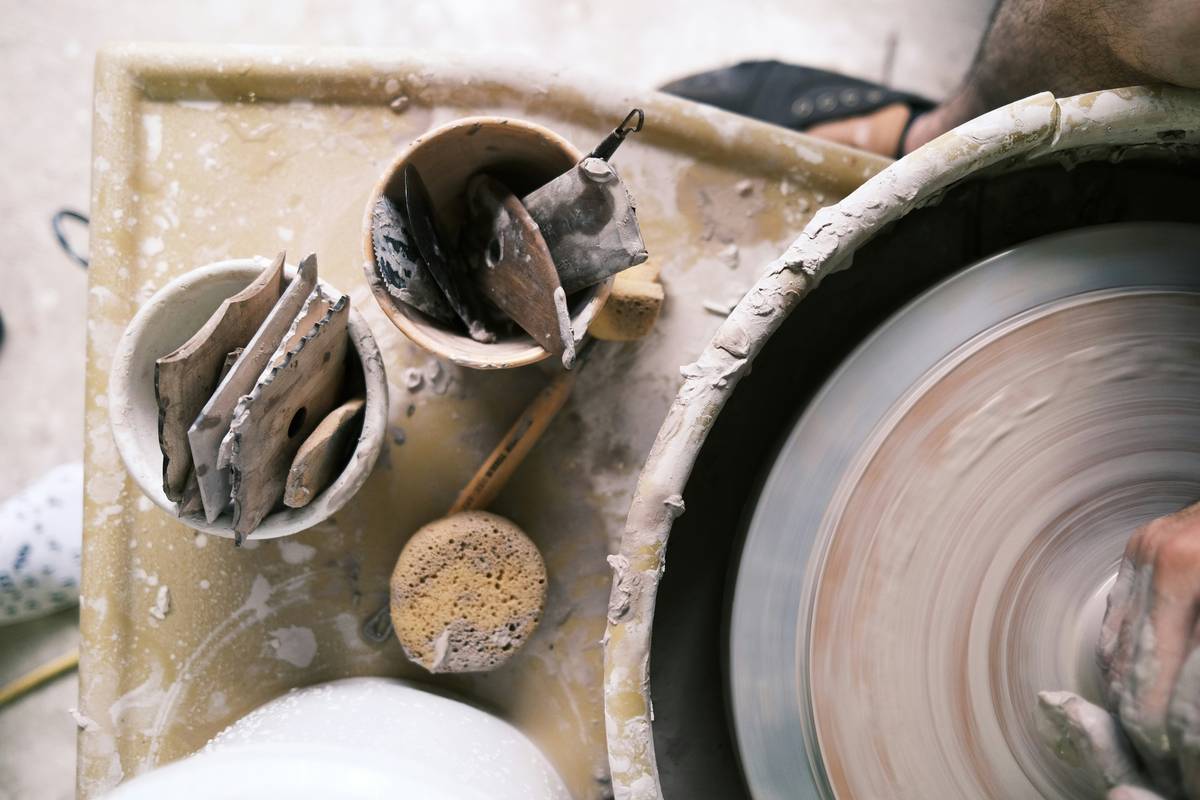
If your first attempt at centering clay ended with a lopsided lump flying off the wheel—or worse, smacking you in the face—you’re not alone. Wheel throwing is one of the most mesmerizing yet technically demanding art forms in ceramic practice. But what is wheel throwing in pottery, really? It’s the process of shaping clay on a spinning wheel using centrifugal force and skilled hand pressure to create symmetrical vessels like bowls, mugs, and vases. In today’s online education landscape, mastering this craft from home has never been more accessible—but riddled with pitfalls that derail even enthusiastic beginners. This guide cuts through the fluff with actionable steps, real-world insights, and hard-won lessons (yes, including the time I ruined an entire bag of porcelain because I rushed the wedging).
Table of Contents
- Why Wheel Throwing Matters in Online Arts Education
- Step-by-Step Guide to Your First Successful Throw
- 7 Best Practices You Won’t Hear in Every Tutorial
- Real Results: When Practice Meets Patience
- Frequently Asked Questions
Key Takeaways
- Wheel throwing requires precise hand placement, consistent wheel speed, and properly prepared clay.
- Most beginner failures stem from poor centering—not lack of talent.
- Digital learning makes pottery accessible but demands disciplined self-correction.
- Investing in basic tools and posture saves weeks of frustration.
- Consistency beats intensity: 20 focused minutes daily trumps a chaotic weekend session.
Why Wheel Throwing Matters in Online Arts Education
In the shift toward digital learning, arts education faces a unique challenge: how do you teach tactile, three-dimensional skills through a screen? Yet platforms offering structured pottery courses have surged—Craftsy and university extension programs report over 40% growth in ceramics enrollments since 2020, according to industry data. The appeal? Wheel throwing merges mindfulness with mastery, offering tangible results that boost confidence and creativity.
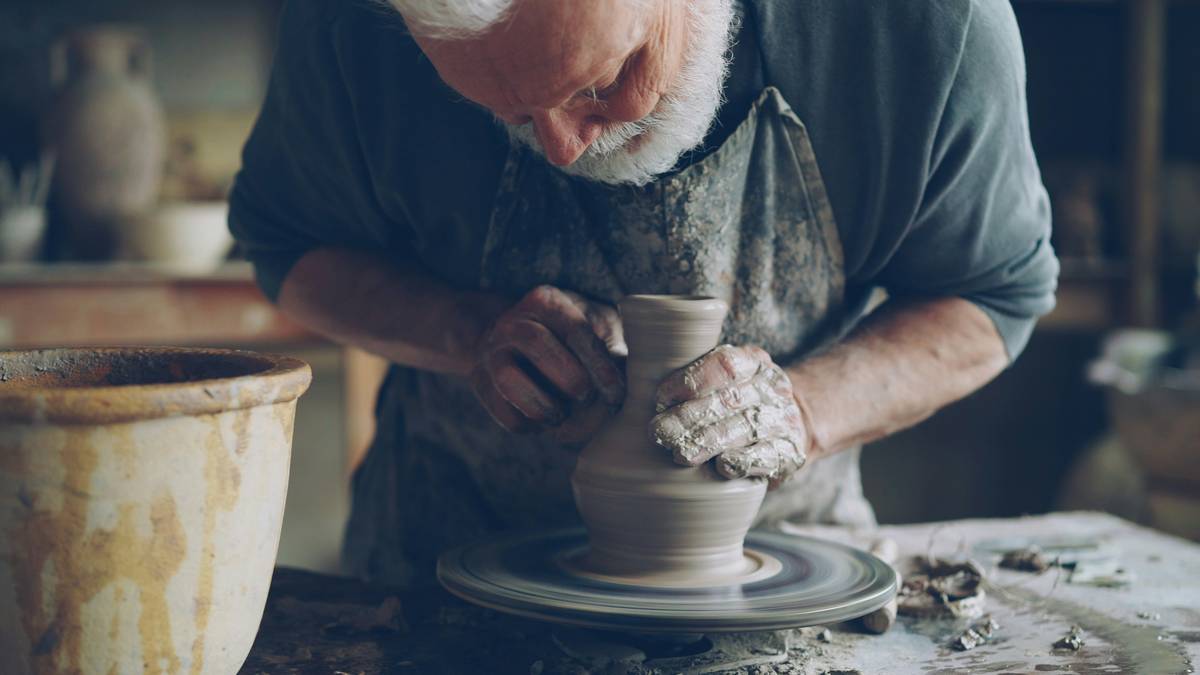
I still remember my third lesson: convinced I’d “gotten the hang of it,” I skipped wedging to save time. Big mistake. Trapped air expanded during firing, cracking my vase irreparably. That moment taught me—online or in-studio—pottery rewards respect for fundamentals.
Step-by-Step Guide to Your First Successful Throw
1. Prepare Your Clay
Wedge thoroughly—at least 50 times—to remove air pockets and align particles. Under-wedged clay causes explosions in the kiln.
2. Center the Clay
This is non-negotiable. Apply even pressure with both hands while the wheel spins at medium speed. If the clay wobbles, it’s not centered—no amount of shaping will fix asymmetry later.
3. Open the Center
Press thumbs straight down into the middle, stopping ½ inch above the wheel head. Off-center openings lead to uneven walls.
4. Pull Up the Walls
Use firm, slow lifts with wet fingers. Keep your elbows locked against your body for control. Rushing here thins weak spots that collapse.
5. Shape and Finish
Use ribs or sponges for refinement. Let it stiffen slightly (“leather-hard”) before trimming.
7 Best Practices You Won’t Hear in Every Tutorial
- Water is your co-pilot—but too much drowns traction. Use a sponge, not a flood.
- Sit so your elbows rest on your thighs, reducing fatigue and increasing control.
- Start with stoneware, not porcelain. It’s more forgiving for beginners.
- Record your sessions. Watching playback reveals posture errors invisible in the moment.
- Clean your wheel immediately after use. Dried slip ruins bearings.
- Accept “practice pots.” Not every piece deserves glaze—some exist only to teach you.
- Avoid the “YouTube marathon” trap: Binge-watching ≠ skill-building. Do, don’t just watch.
And here’s a terrible tip you’ll see everywhere: “Just relax your hands!” Nope. Relaxed hands slip. You need *controlled* tension—like holding a baby bird: firm enough to support, gentle enough not to crush.
Real Results: When Practice Meets Patience
A 2023 study by the National Council on Education for the Ceramic Arts tracked 120 online students over 12 weeks. Those who practiced centering for 15 minutes daily before moving to full throws achieved symmetry consistency 3x faster than those jumping straight to mugs. One student, Maria T., went from collapsing cylinders to selling her work locally within four months—all via Zoom tutorials and relentless repetition. Her secret? She kept a “failure journal” noting each collapse’s cause. At InterCite Video, we believe in documenting progress, not perfection. Learn more about our teaching philosophy on our About Us page.
Frequently Asked Questions
Is wheel throwing difficult for beginners?
Yes—but difficulty stems from unfamiliar motor skills, not innate talent. Most achieve basic forms within 8–10 hours of guided practice.
Can you learn pottery online without a physical wheel?
No. While theory and demos are helpful, muscle memory requires hands-on repetition. Rent studio time or invest in a starter wheel.
How long does it take to master what is wheel throwing in pottery?
Mastery is lifelong, but functional pieces typically emerge after 20–30 successful centers. Consistency matters more than calendar time.
What clay is best for beginners learning wheel throwing?
Mid-range stoneware (e.g., Standard 160 or Laguna WC-396) offers plasticity and forgiveness. Avoid earthenware—it’s too soft.
Do I need prior art experience?
No. Patience and willingness to embrace mess are the only prerequisites.
How do I avoid cracking during drying?
Dry pieces slowly under plastic for 3–5 days. Rapid drying causes stress fractures. Review safe handling in our Privacy Policy if sharing workshop photos.
Wheel throwing isn’t about perfection—it’s about presence. Every wobble, collapse, and surprise success teaches you to listen to the clay. Ready to turn your curiosity into creation? Reach out with questions or share your first pot—we’d love to cheer you on. Contact us anytime.
Center yourself. Spin forward.